CGM Setup.
Continuous glucose monitor for the non-diabetic. Two weeks of data tells you more about your personal physiology than a year of guessing. The setup is simple. The learning isn't.
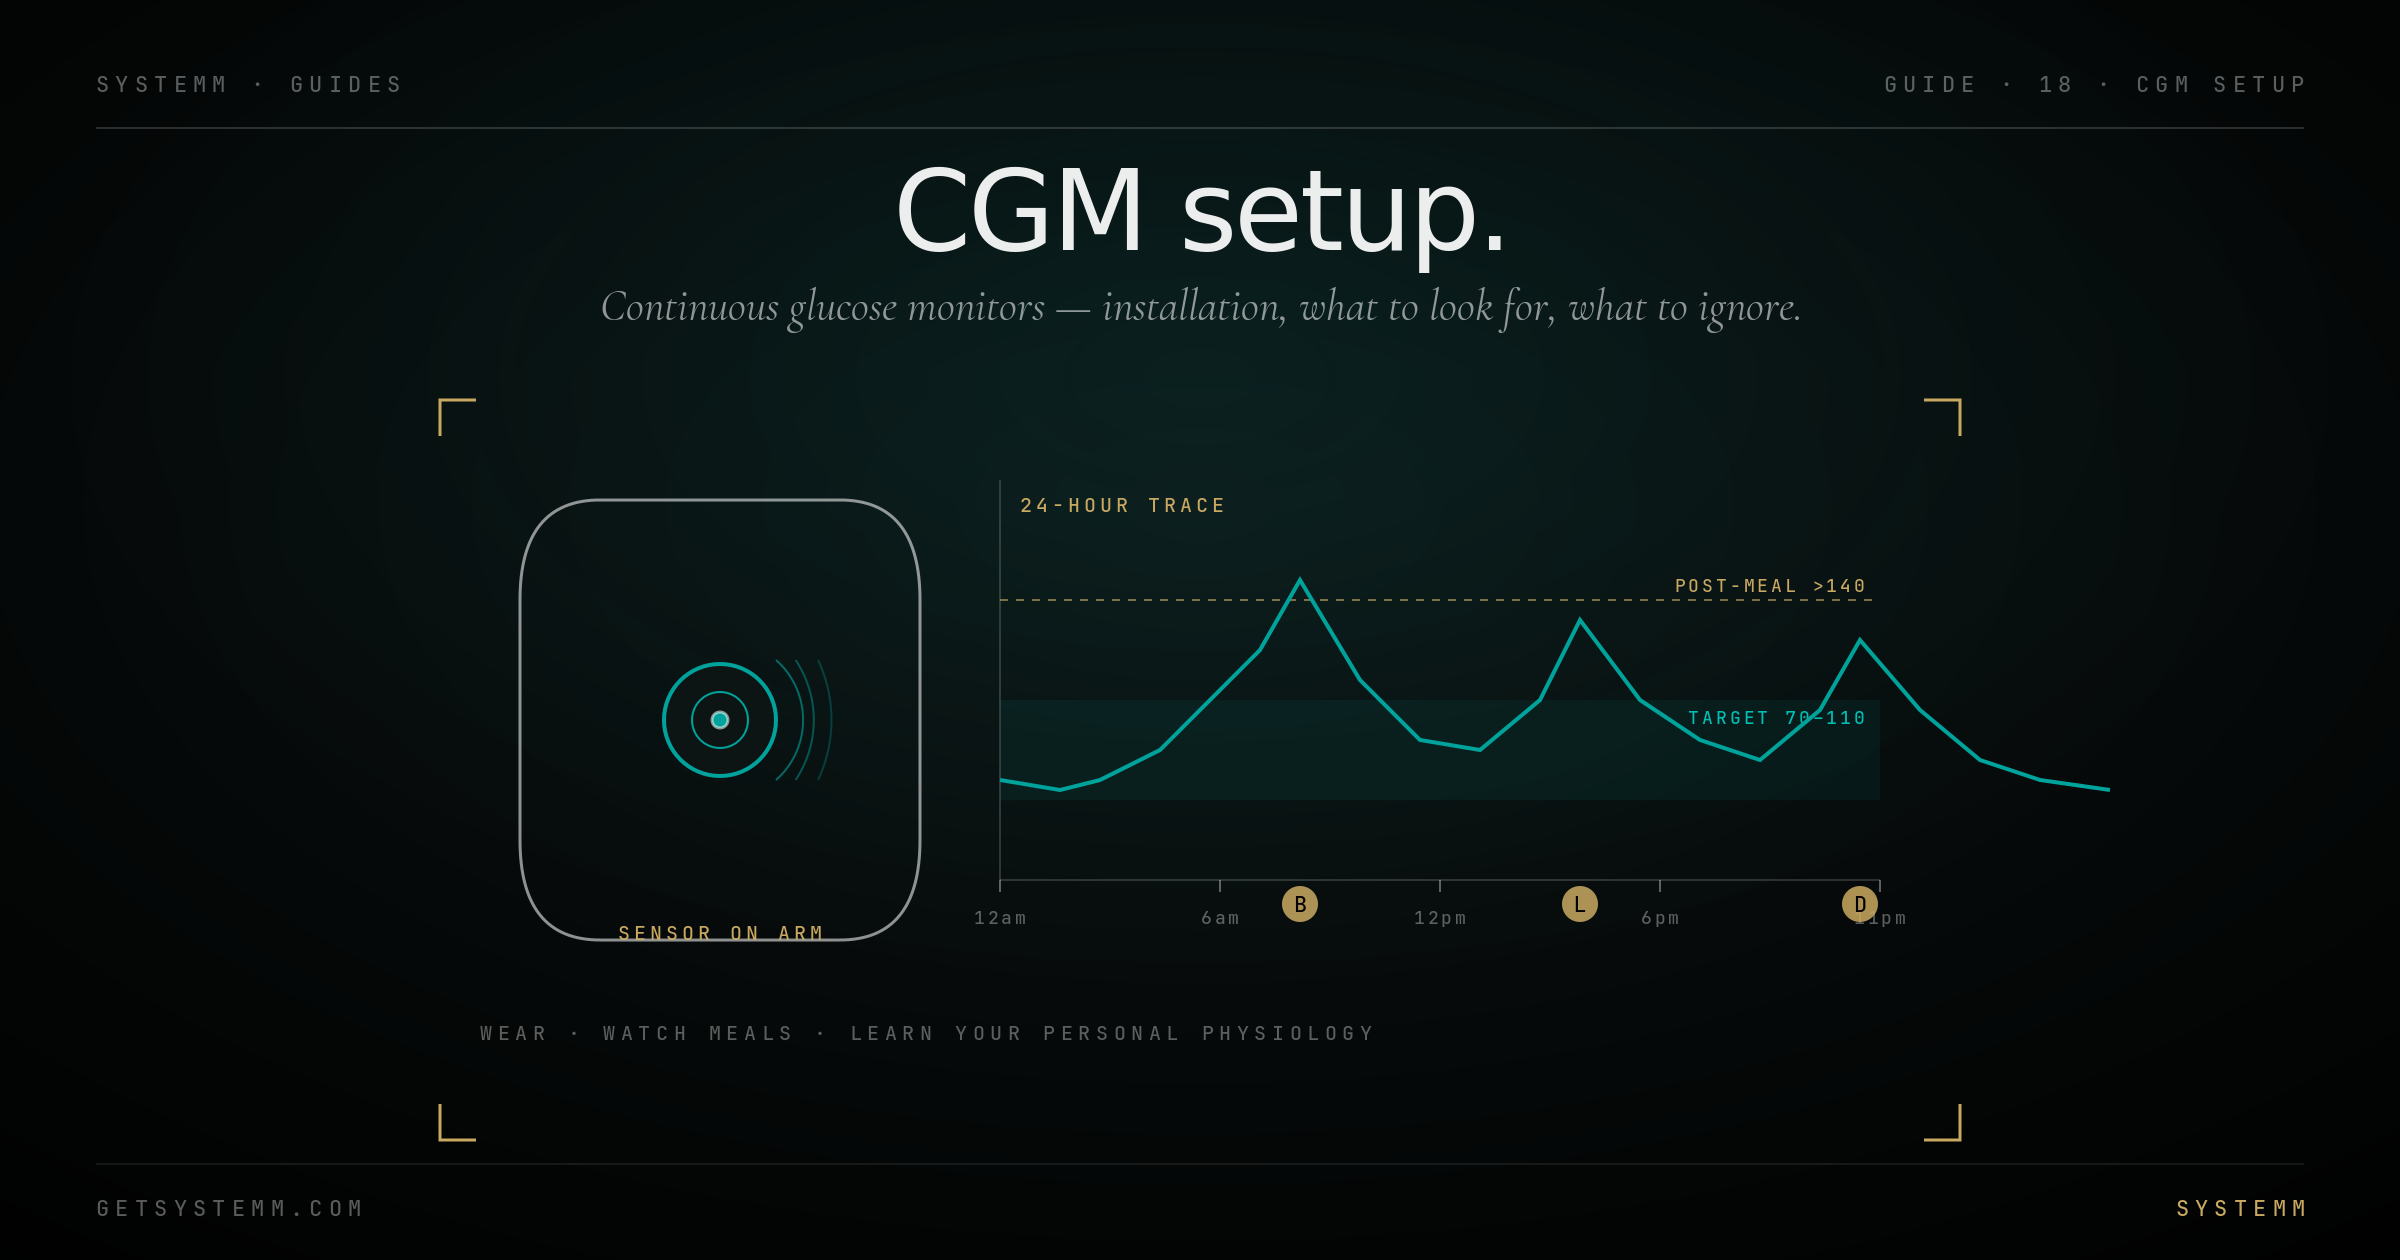
Personal physiology, real-time.
You don't react to food the way the textbook says. A CGM shows your actual curve, not the average one.
Everyone's glucose response is different. The same banana spikes one person to 160 mg/dL and another to 105. The same meal sequence (protein first vs carb first) changes the peak by 30 mg/dL. Identical workouts move post-meal glucose for some people and not others. Average data hides this; CGM data exposes it.
What you learn in two weeks: which specific foods spike you (and which don't), how meal sequence changes your response, how sleep quality affects fasted glucose, how exercise timing interacts with meals, what your morning baseline actually is, and whether 'normal' fasting glucose means what you think.
What it's not: a tool for diabetics to manage with, that requires medical CGM with FDA labeling and physician oversight. The CGMs in this guide are consumer-grade learning tools for non-diabetics.
Three options for non-diabetics.
Stelo, Lingo (Abbott), and Levels-on-Libre. Hardware is similar; software differs.
Default for most users: Stelo or Lingo. Cheapest path to a working CGM. Apps are functional. Two-week wear is enough to learn 80% of what's worth learning.
Add Levels or Nutrisense if you want guided interpretation, structured experiments, and an actual nutritionist reading your data. Worth the markup if you'd otherwise not act on the data.
Don't use the medical-grade Dexcom G7 (RX-required, calibrated for diabetic management) for casual learning. Overkill and wastes a prescription slot.
How to apply, where to apply, what to expect.
The applicator does the work. The site choice matters more than people think.
Site: upper outer arm, the same area you'd give an IM injection but more lateral. Some users prefer the lower back or abdomen, these work but are more prone to accidental knocks. Arm is the standard for a reason.
Prep: shower beforehand, dry skin completely. Wipe site with alcohol (the alcohol prep pad in the kit), let dry 30 seconds. If your skin is hairy or oily, shave / degrease the area or the sensor adhesive will lift in 2 days.
Application: press the applicator firmly into the skin, push the trigger button. The sensor inserts in under a second. There's a brief pinch, not painful, less than a finger stick.
Warm-up: most sensors need 30–60 minutes to calibrate after insertion. App will show 'sensor warming up.' Don't trust readings during this period.
Adhesion: the included adhesive lasts ~10–14 days normally. If yours starts lifting at the edges (showers, heat, sweat), overpatch with Skin Tac + a fabric overpatch (Simpatch, Grif Grips). Cheaper and more reliable than replacing the sensor early.
- Apply to recently shaved area without 12-hour heal time, irritation under the patch is miserable.
- Apply on a tattoo, the dye affects optical sensors and irritates skin.
- Shower in hot water within 30 min of applying, the adhesive needs time to set.
- Inject testosterone or peptides into the same arm as the sensor, site collision.
Four patterns that matter, three to ignore.
Most apps surface a lot. Most of it doesn't change behavior.
Patterns worth tracking:
1. Post-meal peak. How high you go 60 minutes after eating. Sub-140 is healthy. 140–180 is a 'consider modifying this meal' zone. Over 180 in a non-diabetic on a regular meal = something to address.
2. Return to baseline time. A healthy peak should return to fasting baseline within 2–3 hours. Persistent elevation past 3 hours suggests insulin resistance or insufficient muscle to absorb the glucose.
3. Fasting / morning baseline. Your true fasting glucose, measured overnight before any movement. Should be 70–90 mg/dL. Sustained elevation above 100 is pre-diabetic territory; below 65 with hypo symptoms suggests reactive hypoglycemia.
4. Glycemic variability. Standard deviation across the day. Lower is better (smoother curves = healthier metabolic state). Most consumer apps report this as a 'variability' or 'time in range' metric.
Patterns to ignore: single-day numbers (sensors are noisy; trends matter), gym-spike artifacts (some sensors misread during exercise), overnight dips below 70 in non-symptomatic people (often sensor calibration drift).
Five questions to answer in two weeks.
Targeted N-of-1 experiments. Each takes 1–2 days; together they teach you the most.
1. Meal-order test. Eat the same meal twice on different days, once protein/veg first, once carbs first. The same calories with different order produce different peaks. Most people's curves are 30–50% lower when protein leads.
2. Walking-after-meals test. Eat a typical lunch. Sit for 90 minutes. Note the peak. Next day, same lunch, 15-min walk within 30 min of finishing. Compare peaks.
3. Sleep quality test. Track fasted morning glucose after a 7-hour night vs a 5-hour night. Sleep restriction commonly elevates fasted glucose 10–20 mg/dL the following morning.
4. Caffeine-fasted test. Black coffee on an empty stomach can raise glucose 10–30 mg/dL via cortisol pathway in some people. Track if you're one of them.
5. Identify your worst spikers. Test the foods you eat regularly. Many users discover that one specific food (oatmeal, jasmine rice, smoothies, beer) is responsible for most of their daily area-under-curve.
Related.
For educational purposes only. Consumer CGMs are not medical devices for diabetic management. Significant glucose abnormalities warrant evaluation by a physician. Some sensors are FDA-cleared as OTC; others require prescription. This information does not substitute for personalized medical advice.