Injection safety.
Self-injection is precision under household conditions. Treat the workflow like a sterile field, not a science fair. This is the procedure for staying out of trouble.
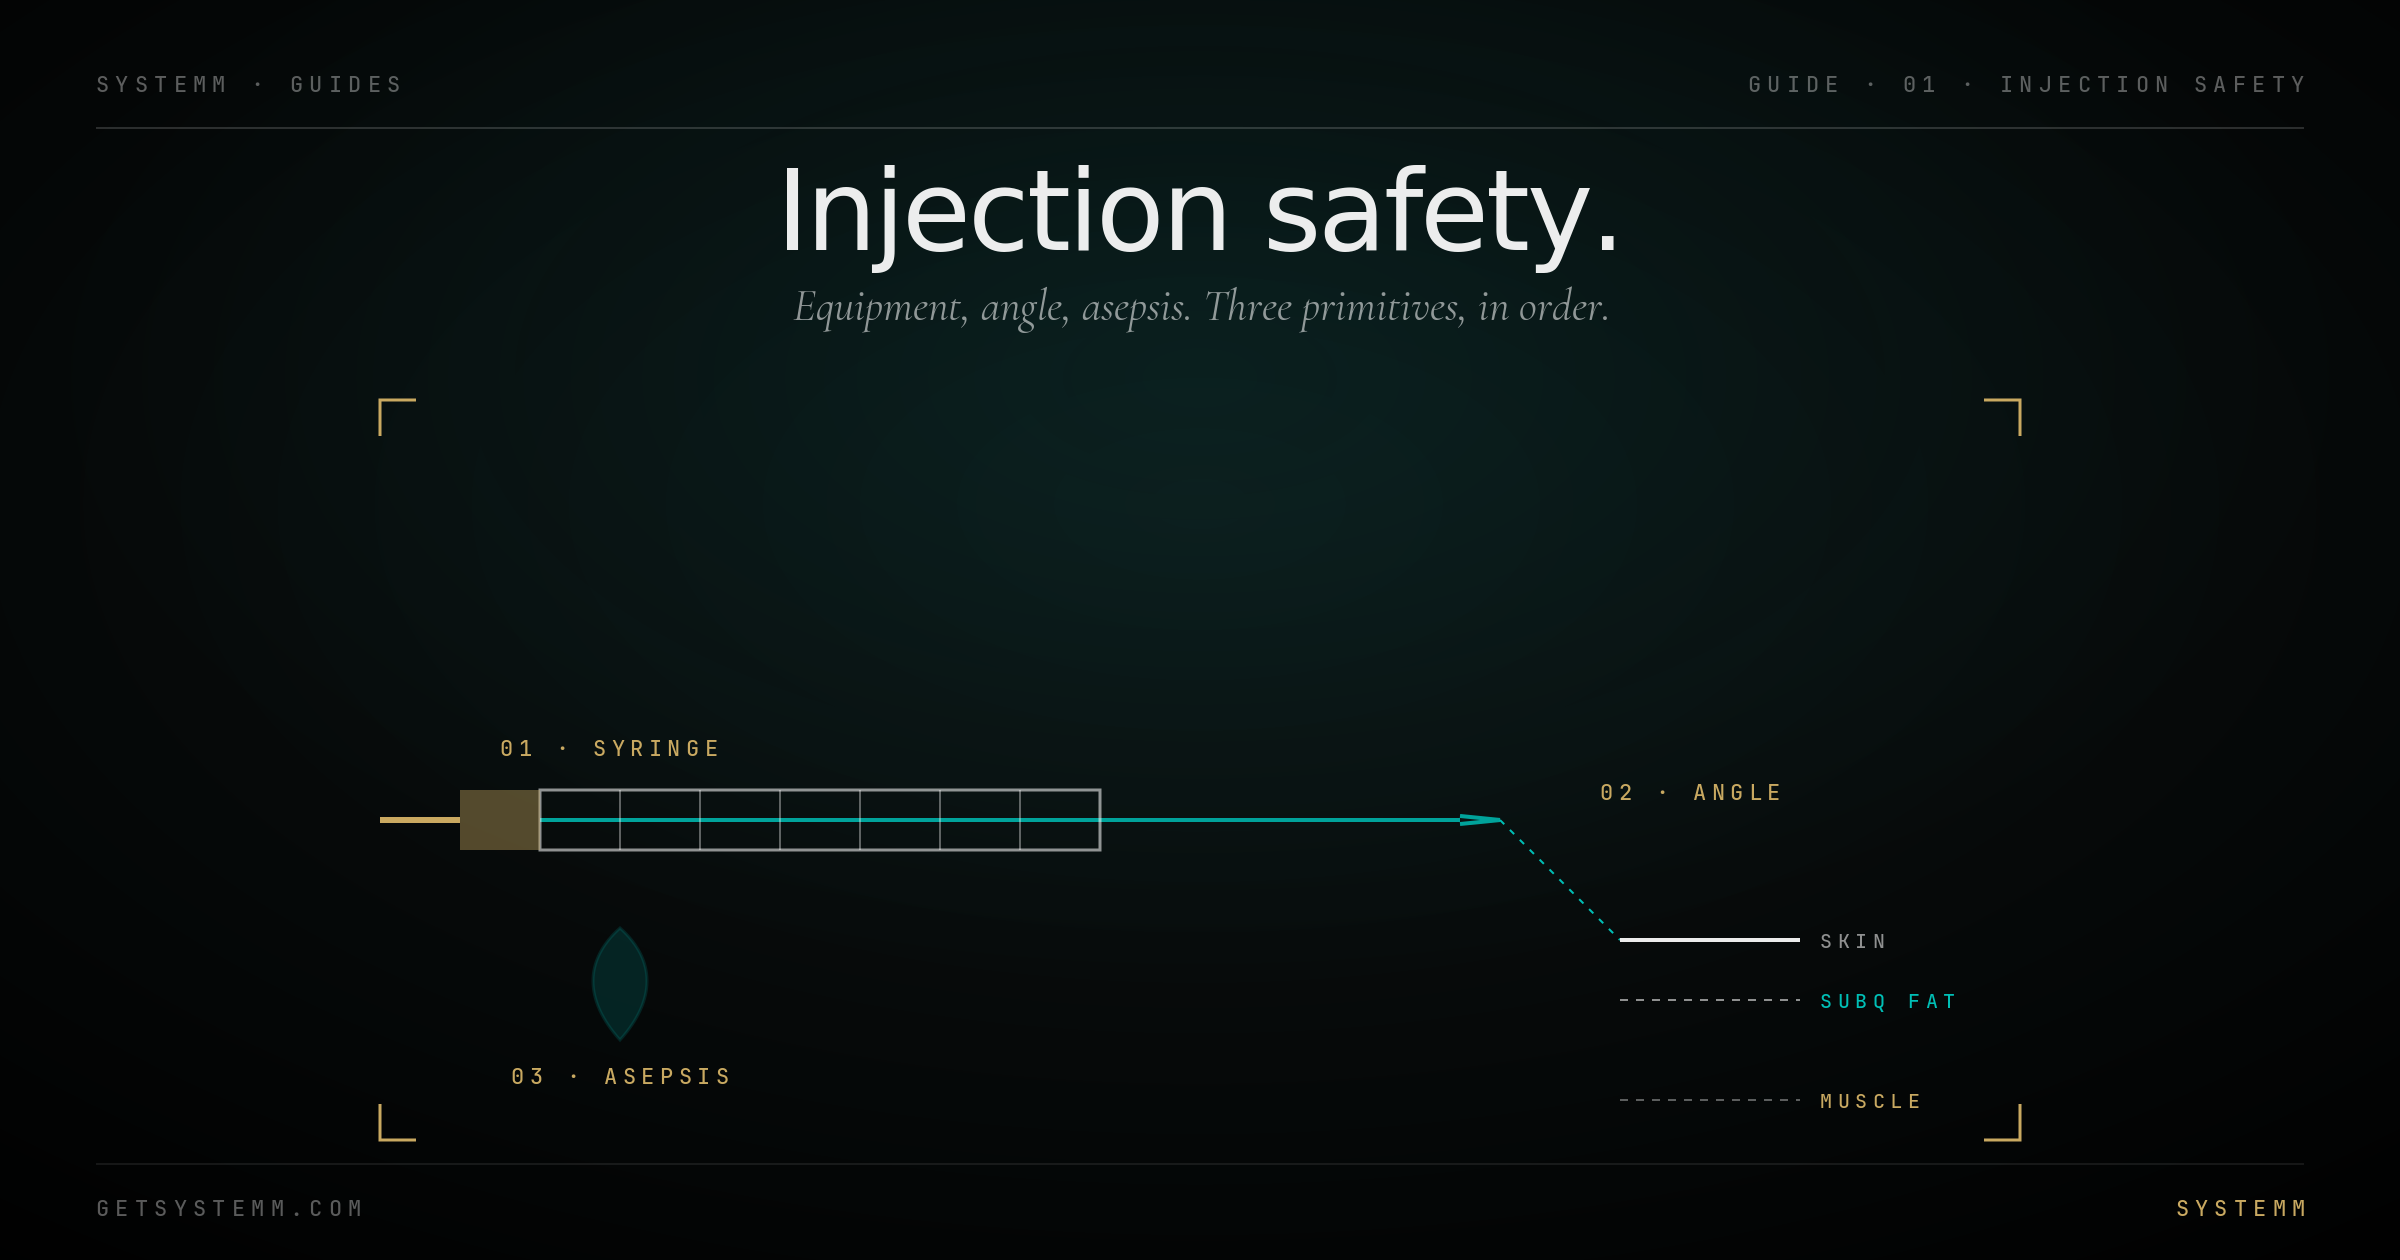
What you actually need.
Build the kit once. Replenish the disposables monthly. The whole setup costs less than a single doctor's-office injection.
Sterile field, household conditions.
The five-minute setup is the whole game. Most injection-site infections trace back to skipped prep, not contaminated supplies.
Wash your hands. Soap, warm water, 20 seconds, including under the fingernails. Dry on a clean paper towel, not the bathroom hand towel.
Clear a workspace. A wiped-down countertop or a clean tray. Lay out everything you'll need, syringe, needle, swabs, vial, sharps container, before you open anything.
Inspect the vial. Hold it up to the light. The solution should be clear (or clear with very fine suspension for some peptides). Particulates, cloudiness, or color change means discard. Check the expiration date and the reconstitution date you wrote on the cap.
Swab the vial top. Even if the cap was just opened. Use a fresh alcohol pad, single firm wipe across the rubber stopper. Let it dry for 5 seconds, alcohol kills as it evaporates.
Swab the injection site. Same fresh-pad rule. Wipe in an outward spiral or a single firm pass. Let it dry fully before injecting, wet alcohol stings and isn't doing anything until it's evaporating.
Open the needle last. Air exposure starts the clock. Pull the wrapper, attach to the syringe, leave the cap on the needle until the moment of injection.
Lyophilized → liquid.
Peptides ship as freeze-dried powder. You add bacteriostatic water, swirl gently, and store refrigerated. The math is on the calculator page.
Draw bac water first. Use a fresh insulin syringe. Pull the volume listed on the recon calculator (typically 1 – 3 ml depending on the peptide).
Trickle, don't blast. Insert the needle into the vial at an angle so the bac water runs down the inside wall of the glass, not directly onto the powder cake. Direct impact denatures some peptides.
Swirl, don't shake. Gentle circular motion until the powder dissolves, usually under a minute. Shaking creates micro-bubbles that damage protein structure.
Label the vial. Date of reconstitution, peptide name, concentration. Tape on the cap or write directly with a fine permanent marker.
Refrigerate. 36 – 46 °F. Most peptides keep 30 days; some (PT-141, BPC-157) tolerate 60+. Don't freeze unless the manufacturer specifies it.
Under the skin, not into muscle.
SubQ is the route for most peptides and a valid alternative for testosterone. Shorter needle, fattier site, near-painless when done right.
Use an insulin syringe. U-100, 29 – 31 gauge, ½-inch needle. The same syringe draws and injects, no separate drawing needle needed for thin peptide solutions.
Pinch one inch of fat. Between thumb and forefinger. The pinch tents the skin away from underlying muscle and gives you a target depth.
Insert at 45° or 90°. For thinner builds, 45° angle reduces the risk of accidentally hitting muscle. For people with more subcutaneous fat, 90° is fine and easier to aim.
Push slowly. 2 – 3 seconds per dose. Faster causes pain and bruising. Slower lets the tissue accommodate the volume.
Hold for 5 seconds. Before withdrawing the needle. Lets the dose settle and prevents back-leak.
Withdraw at the same angle. Pull straight out along the path you went in. Apply gentle pressure with gauze for 10 seconds.
Into the muscle, with intention.
IM is the historical standard for testosterone esters. Oil-based solutions need to deposit in vascularized muscle for steady release.
Use a 1 ml or 3 ml luer-lock syringe. With a 22 – 25 gauge, 1 to 1½-inch needle. Thinner gauges hurt less but draw thick oils more slowly. Use an 18 – 21 G needle just to draw, then switch to a finer needle to inject.
Choose the site. Ventrogluteal (side of the hip) is the safest IM site, thick muscle, far from major nerves and arteries. Vastus lateralis (outer thigh) is the most accessible self-injection site. Deltoid works for volumes under 1 ml only.
Stretch the skin flat. Don't pinch like SubQ. Use your non-dominant hand to stretch the skin over the injection site so the needle path is unobstructed.
Insert at 90°. Quick dart-like motion through skin and fat, into the muscle belly. Depth depends on body composition, leaner bodies need shallower insertion.
Aspirate (optional). Pull back slightly on the plunger for 1 – 2 seconds. If blood appears, withdraw and use a fresh needle at a different site. Modern guidelines de-emphasize aspiration for low-risk sites, but it's free insurance.
Push slowly. 5 – 10 seconds for a 1 ml volume. Faster causes muscle pain that persists for days.
Hold and withdraw. Wait 5 seconds, then pull straight out. Apply firm pressure with gauze for 30 seconds, IM sites bleed more than SubQ.
Don't hammer one spot.
Tissue scarring, fibrosis, and reduced absorption are the cost of repeating sites. Rotate on a schedule, not by feel.
SubQ sites. Lower abdomen (avoid 2 inches around the navel), love handles (iliac crest), outer thighs, back of arms. Cycle through 4 – 6 sites on a weekly rotation.
IM sites. Ventrogluteal (left and right), vastus lateralis (left and right), deltoid (limit to small volumes). Alternate sides every injection; rotate muscle group weekly.
Track it. A sticky note on the medicine cabinet, a phone notes file, a small tally in a notebook, whatever you'll actually use. Pattern matters more than the medium.
Sites to avoid. Bruises, moles, scars, broken or inflamed skin, visible blood vessels, areas within 1 inch of bone, or any site that hasn't healed from the last injection.
Sharps go in sharps containers.
Used needles are biohazardous. Improper disposal causes injuries, to you, to your family, to sanitation workers, and to anyone who ever takes out your trash.
Drop the syringe in immediately. No recapping. Recapping is the #1 cause of accidental needle-stick injuries among home users. The cap is harder to align than you remember; the needle is sharper than you expect.
Use an FDA-approved sharps container. Puncture-resistant, leak-proof, labeled biohazard. Five to fifteen dollars depending on size. Keep it next to your injection workspace.
If you don't have one. Use a heavy-duty plastic bottle (laundry detergent jug, bleach bottle), never glass, never thin plastic. Label clearly: SHARPS, DO NOT RECYCLE. This is a stopgap until you order a proper container.
Fill to ¾ full and seal. Most state laws prohibit filling sharps containers above the indicated line. Seal the lid, tape it, label it.
Disposal route. Check your state's rules at safeneedledisposal.org. Options vary: pharmacy take-back, hospital drop-off, mail-back service, or designated household hazardous waste days. Never put sharps in regular trash or recycling.
When to stop and call a doctor.
- Redness, warmth, swelling, or tenderness at the injection site that worsens past 24 hours, instead of fading.
- Pus, drainage, or red streaks spreading away from the injection site, these are infection signs and need antibiotics.
- Fever, chills, or a general unwell feeling within 24 – 48 hours of injection.
- A hard, painful lump that persists for more than a week, especially if accompanied by warmth.
- Hives, difficulty breathing, throat swelling, dizziness, these are allergic reactions. Treat as an emergency.
- Persistent bleeding that doesn't stop after 15 minutes of firm pressure.
- Numbness, tingling, or shooting pain at or near the injection site, may indicate nerve involvement.
Normal post-injection feelings. Mild soreness for 24 – 48 hours, a small bruise, a barely-visible needle mark, slight redness for 1 – 2 hours that fades. All routine.
Abnormal. Anything that's worse on day 2 than day 1, anything that involves systemic symptoms (fever, malaise, joint pain), anything that hurts beyond mild soreness. Don't tough it out. Infections progress quickly without intervention.
Related.
For educational purposes only. This guide describes general best practices for home injection of prescription and research-use compounds. It does not substitute for instruction from a qualified medical professional. Specific medical conditions, medications, anatomical considerations, and product instructions may require deviation from these general principles. Consult a physician before beginning any self-injection regimen.